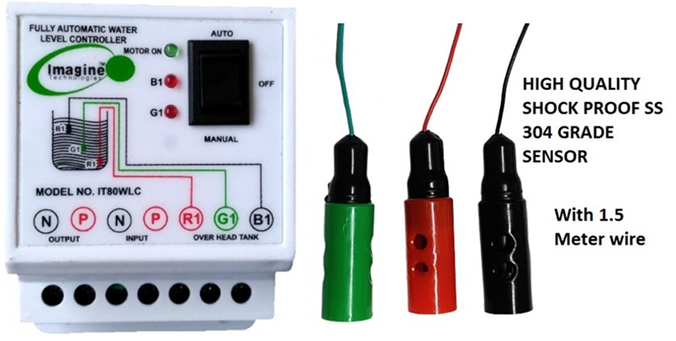
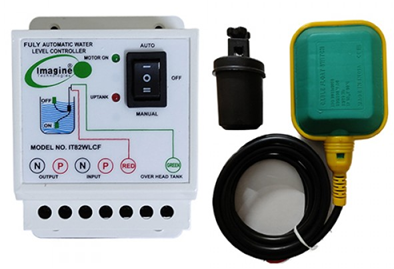
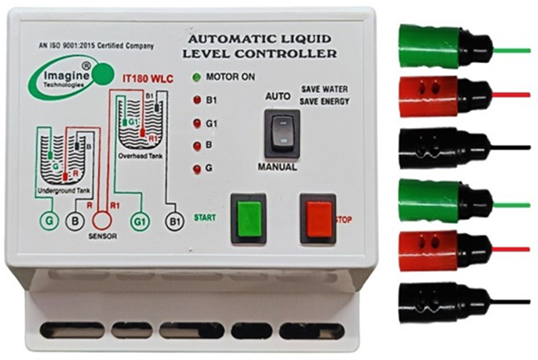
Fully Automatic Water Level Controller with Digital Display & Motor Protection (MODEL No. IT189DWLC)
Features: - Auto ON activates the motor when the water level drops below the low sensor, and Auto OFF turns it off when the water level reaches the top sensor. - Includes manual and automatic mode functions. - Compatible with motor pumps up to 2 HP, operated by a standard ON/OFF switch or MCB. It is also suitable for electronic starters. - Prevents overflow & dry run protection (when the underground tank is empty or below the level of the sensor, turn off the motor pump automatically) - Saves electricity and water. - Digital display shows water level, under-voltage and over-voltage - Under & Over voltage protection - Features a fully automatic, microcontroller-based design with power failure protection (the motor pump will not restart automatically after a power failure). - In manual mode, the motor runs continuously when the green start button is pressed and stops when the red stop button is pressed. - Comes with a one-year warranty for the device. Packaging: • IT189WLC Device • Six numbers for the SS sensor (3 for the upper tank & 3 for the underground tank). Connection only for the Overhead tank: - If you have only an overhead tank, then you need to short the (G, B, R) sensors (connect all sensors). Three sensors of the underground tank, R, G, and B, are shorted with a single wire link directly in the panel. - After shorting it, the G and B LEDs will be glowing permanently. That means your underground is permanently full, so it's work only for the overhead tank. How to Set Water Level Controller Parameters? Automatic Setting Mode: • Start the motor in manual mode and press the (SET) button on the controller for 3 to 5 seconds until the display shows "set". After it will automatically set dry run and overload. • Note: If auto mode is not set to the proper setting value, then only use the manual setting; otherwise, there is no need to do so. For manual settings: • First, start the motor and read the live current of the motor, then change all (OLL) and (DRY) values in the controller. • OC- Overload Current is greater than 30 to 40% of motor current. It prevents the motor from overload & increases motor life. • UC- Dry motor current is less than 10 to 20% of motor current. It prevents the motor from running dry & increases motor life. • OV – You can adjust the over-voltage setting according to your needs. If you set 280V, then whenever your home voltage exceeds 280V, the motor will stop, preventing over-voltage and increasing motor life. • UV- You can adjust the under-voltage setting according to your needs. For example, if you set 170V, whenever your home voltage drops below 170V, the motor will stop, preventing over-voltage and increasing the motor's life. • RST – Its motor error reset timer. If you set (5), then the motor automatically reset after 5 minutes from any error, no need to press any reset button if you reset the time. Manual Setting Mode: • Turn Off the Motor to Enter Program Mode. • Press the (SET) Button once. After Display Showing OC (OC = Overload Current). • Press the (SET) Button once to set the OC Value using the UP () & Down () buttons. • After Set Press (Start) Button for New Setting UC (Under Current). • Press the (Set) Button once. After the Display Showing UC. (UC = Dry Run Current Or Under Current). • Press the (SET) Button again to set the UC value using the UP () & Down () Buttons. • After Set Press (Start) Button for New Setting OV (OV = Over Voltage). • Press the (SET) Button once. After Display Showing OV (OV= Over Voltage) • Press the (SET) Button again to set the OV Value using the Up () & Down () Button. • After Set Press (Start) Button for New Setting UV (UV= Under Voltage). • Press the (SET) Button once. After Display Showing UV (UV= Under Voltage). • Press the (SET) Button again to set UV Value by Up () & Down () Button. • After Set Press (Start) Button for New Setting RST (RST= Reset Error). • Press the (SET) Button once. After displaying RST (RST= Reset Error). • Press the (SET) Button again to set RST Value by Up () & Down () Button. • After configuring all settings, leave the device for 3 seconds. It will automatically exit program mode and display live voltage, indicating that you are out of program mode.